
According to the popular WordPress and JavaScript educator Zac Gordon, when building social networks (or community websites) for people who are planning events or doing group assignments and projects, having the ability to share documents is essential.
This feature allows them to upload important information, assignments, and projects directly to your website without having to rely on third-party service for hosting it externally. Most of the free file hosting services are riddled with ads, surveys, endless captchas, and proves to be a security nightmare.
Why you should enable document and file sharing support in BuddyPress
Apart from the above reasons, enabling user file sharing and storage on your website can also improve the overall user experience. It doesn’t matter which niche your site belongs to, your members can really benefit from it.
For example – If you are a financial planner and you offer financial advice to your clients on your website, you can upload and share the spreadsheets and documents directly with them based on which they can make informed decisions.
More importantly, you shouldn’t feel restricted to just use images and videos on your site. Based on your industry and use case, you might need something more than that.
With rtMedia, You can now allow people to upload presentations, audio files, archives, and more on your site including the formats supported by WordPress out of the box.
And the best part about it? You can enable documents and file sharing in BuddyPress groups too and manage everything from the ‘Media’ tab.
By the way, all documents and file sharing activity will appear in the BuddyPress activity stream just like when you upload any media on the site. And most importantly, you can also set the privacy levels manually.
How to enable document and file-sharing support
Time needed: 15 minutes
Here are the step by step instructions for you to enable document and file-sharing support on your BuddyPress community website.
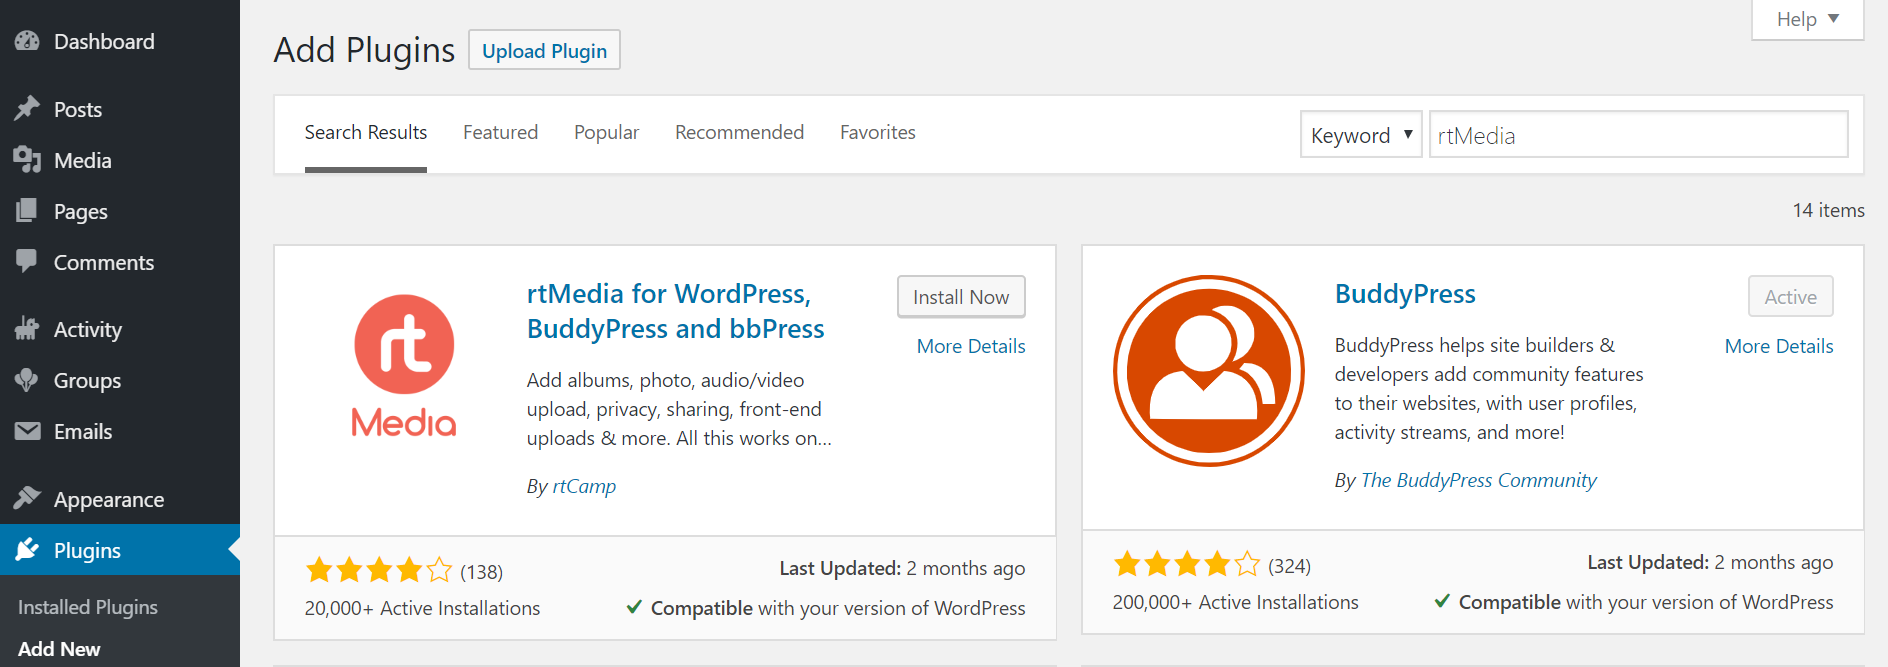
- Install rtMedia
Install and activate the free rtMedia plugin from your WordPress dashboard.
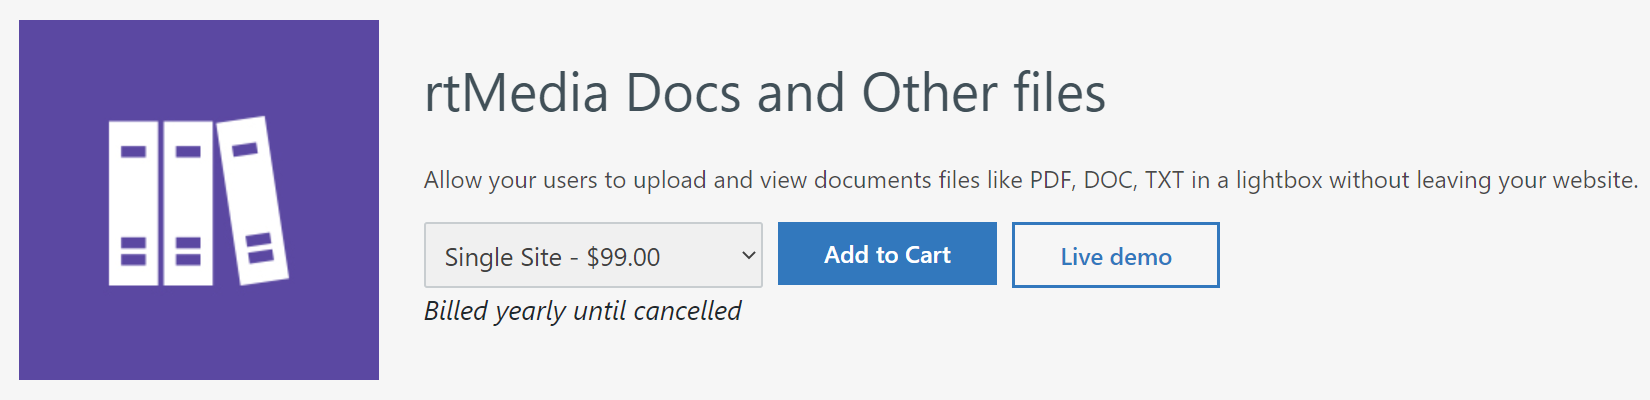
- Install rtMedia Docs and Other files add-on
Get the rtMedia Docs and Other files add-on from our rtMedia Store and upload it manually to your site.
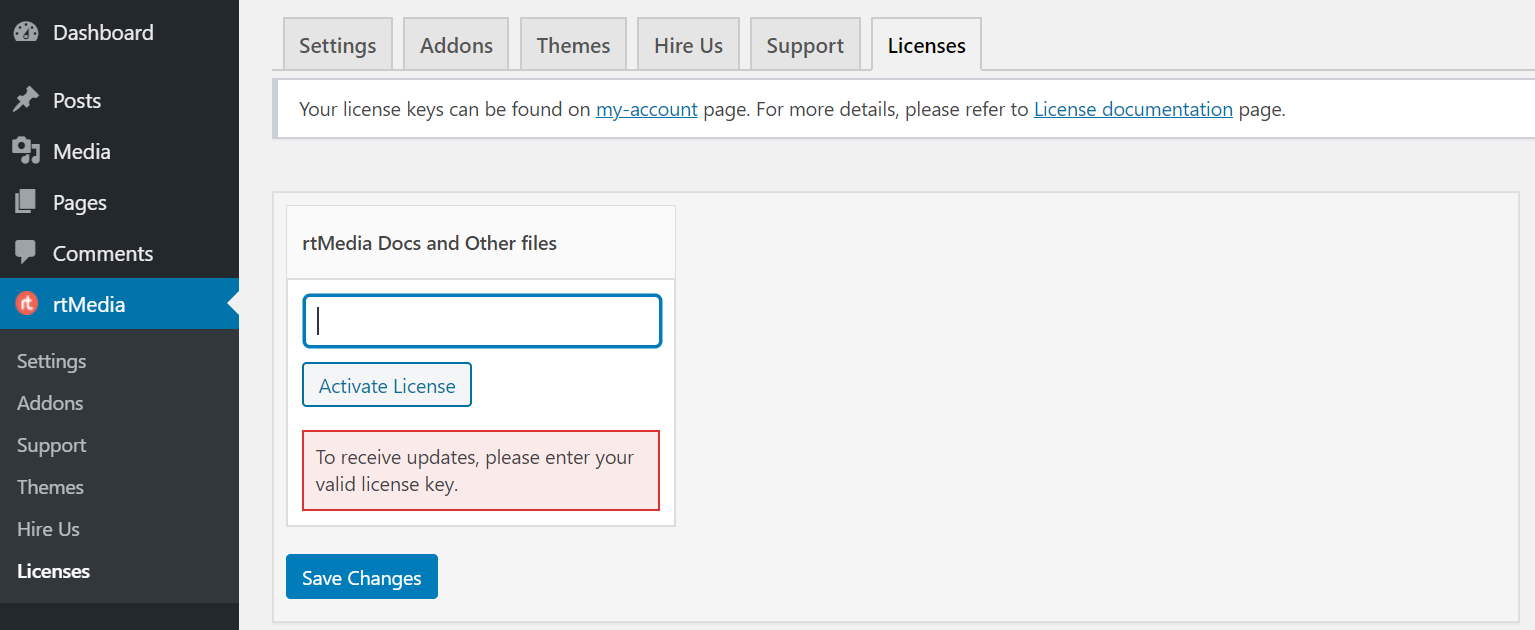
- Activate the add-on with license key
Activate it using your license key from the rtMedia Licenses page. Only then will you get automatic security updates, bug fixes, and feature updates.
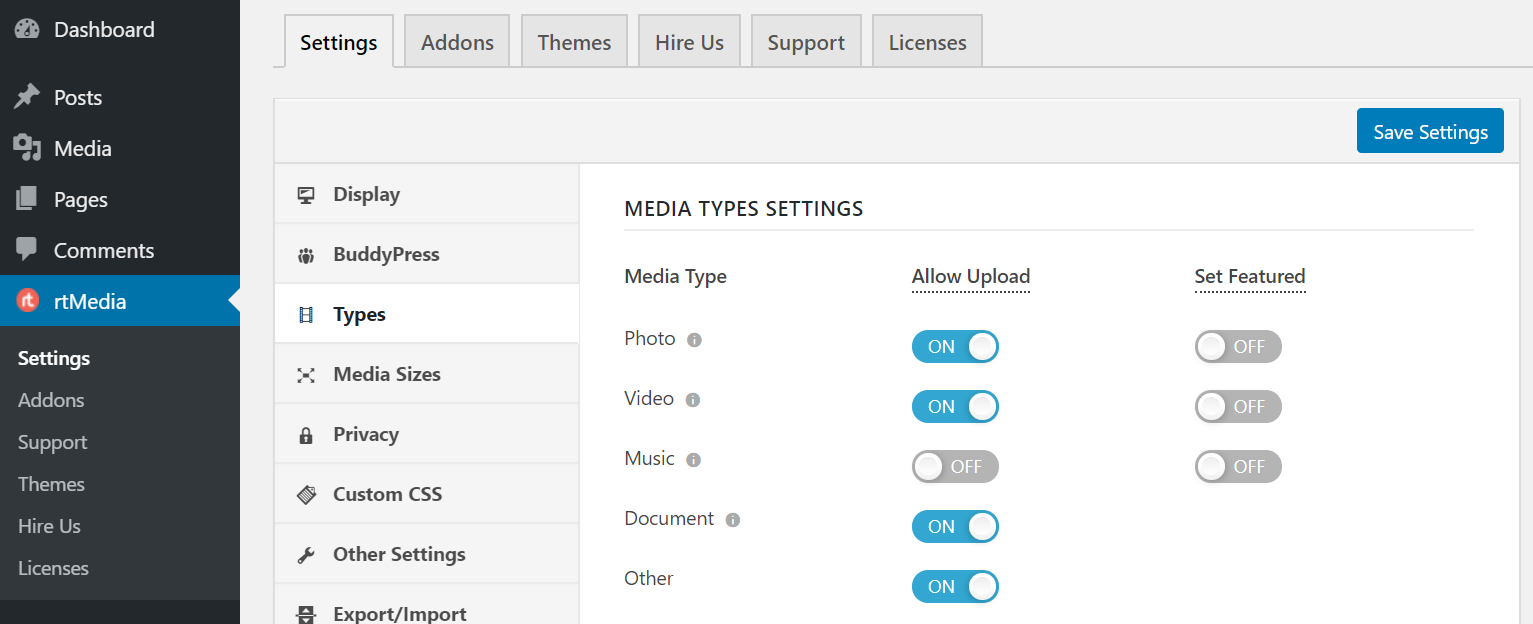
- Enable support for documents and other files
Go to rtMedia Settings page, click on the Types tab and turn on the Document and Other toggles.
- Enter allowed file extensions
Enter the file types you want to allow on your site apart from documents in the newly displayed box and click on the Save Changes button.
NOTE: Remember that add support for files only which you intend to host on your website.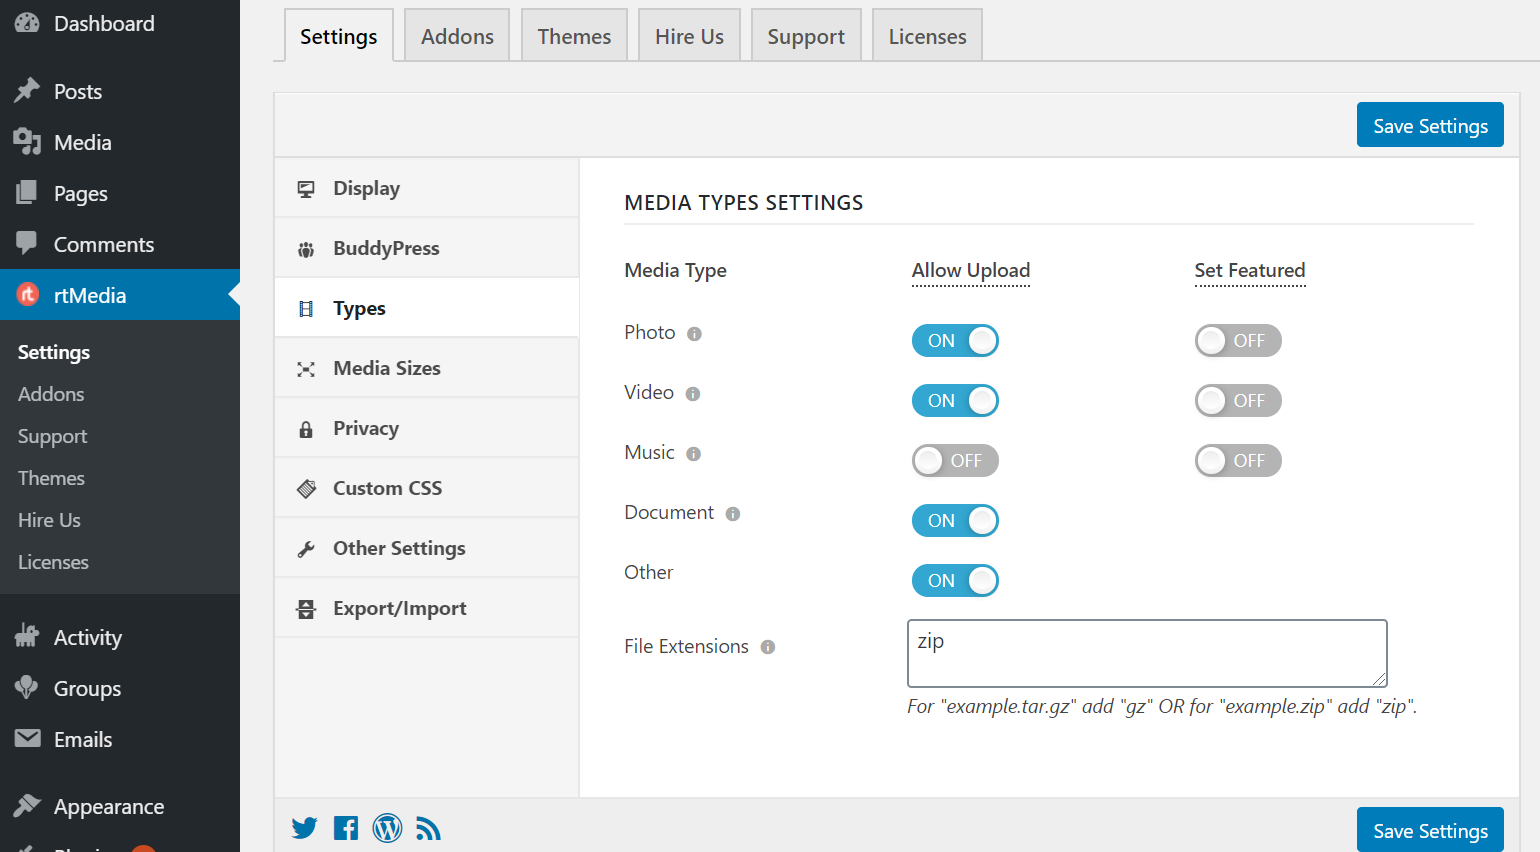
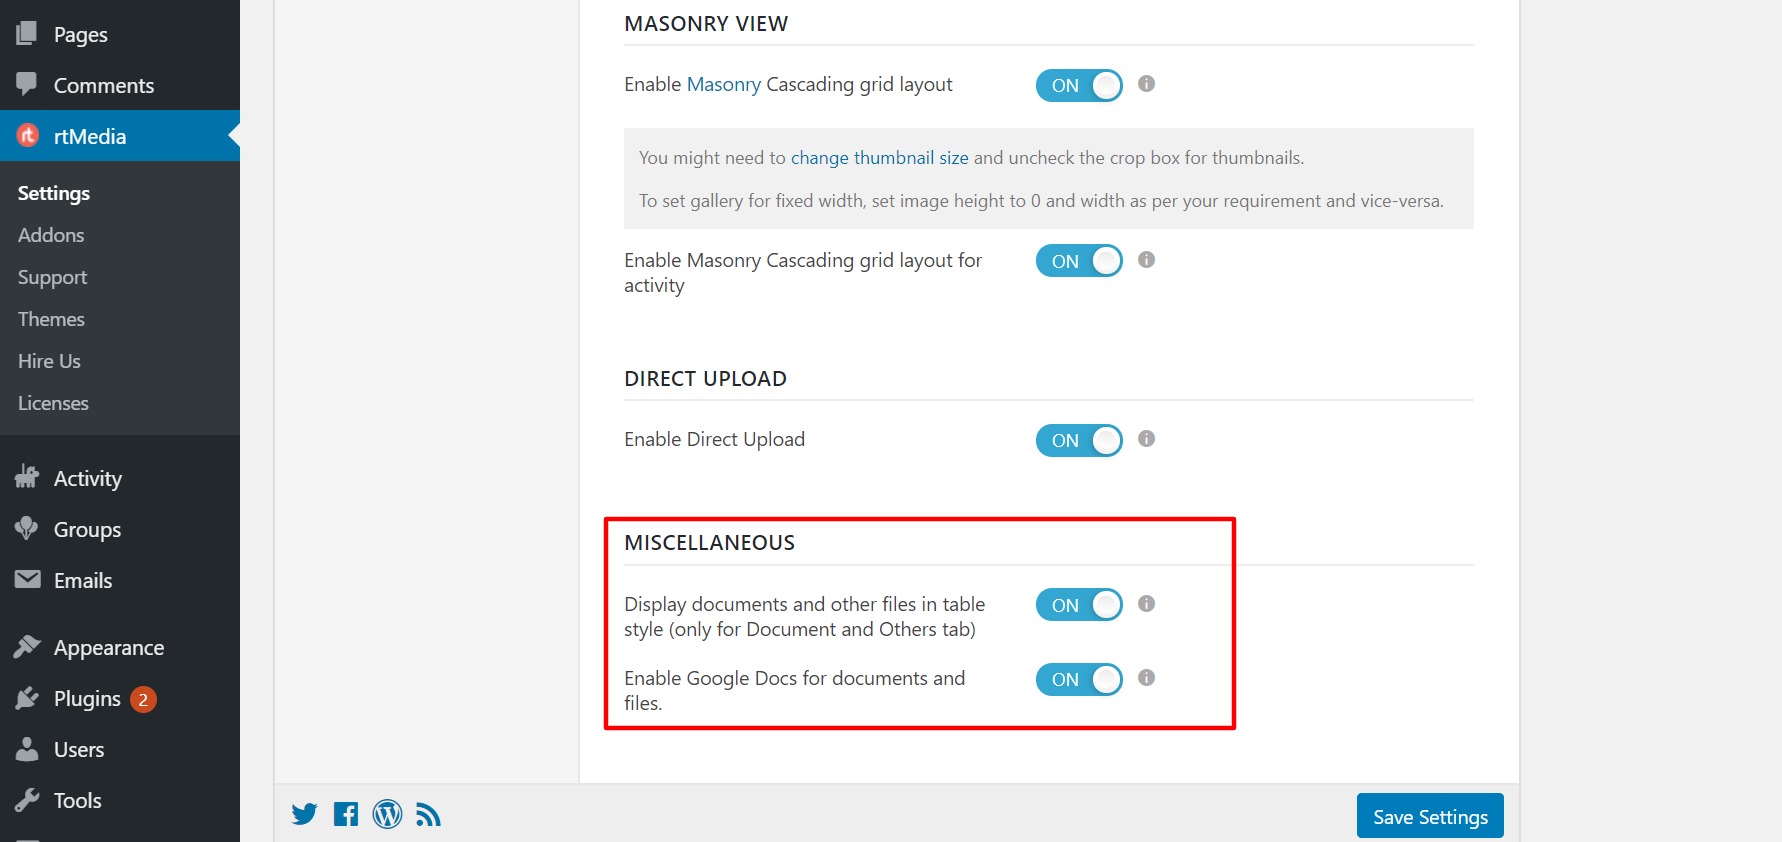
- Tweak miscellaneous settings
Click on the Display tab, scroll down to Miscellaneous and turn on the toggle for Display documents and other files in table style and Enable Google Docs for documents and files.
You can now test it on your website by trying to upload documents and other files that you had added support for.
By the way, you can provide users with a simple and straightforward way to download the files using the rtMedia Direct Download Link add-on.
Check out our other add-ons
If you need to integrate more such useful features on your BuddyPress site, you can check out our other premium add-ons. If you prefer getting them all at one go without worrying about each add-on, you should get the rtMedia Pro Bundle.
Did you find this article helpful? Let us know in the comments section below.
You must be logged in to post a comment.