Create, delete or edit attributes
By activating Media Attributes add-on. You can find Attributes tab under rtMedia section.
Now, create attributes as per requirements which will display in media gallery section on your site for end users.
After that, click on Configure button to set terms for each attributes. Terms are like sub-items of single attribute. Like if you have a location as an attribute, then you can set terms as ‘India’, ‘United States’, etc. That way user can distinguish exact location where they have captured image.
Also, site admin can found all these Attributes under Media section in WordPress site backend. From there the terms can be defined.
Select attributes during media upload
You may want either single or multiple terms for each attribute. For single term selection, set render type to Dropdown. For multiple selection, set render type to Checkbox while you are adding or editing any media attribute.
Attributes in Gallery shortcode
If you want to create a Gallery that only displays media of a certain attribute, you can do so using the attribute_slug & term_slug parameters. Read more about these parameters in our documentation.
Get link to the attribute page
rtMedia custom attributes addon provides a feature where you can get a link to the attribute. It will display all the media which belongs to that particular attribute. These links will be displayed when you open the media in lightbox as well as on the single media page.

Searching media by attributes
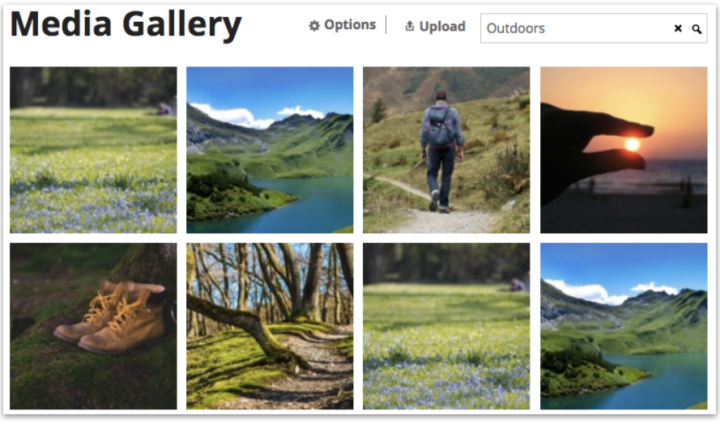
The media search feature that was introduced in rtMedia v4.4 is enhanced with rtMedia Custom Attributes v1.2.4. Now users can search the media gallery for media using the custom attribute set by this addon.


You must be logged in to post a comment.