

If you have installed BuddyPress on your WordPress site just now and wondering what you have to do next, we can help you with that. But before that, we would like to congratulate you on choosing BuddyPress to power your community website. 👏
That’s the second-best decision you have taken after choosing WordPress as your platform. 🙂
In this article, we will be guiding you through the next steps you need to take right after installing BuddyPress. It’s better that you follow them in the recommended order.
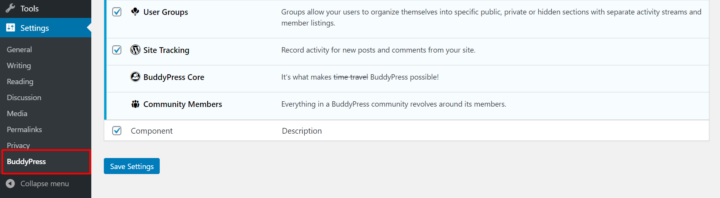
NOTE: To find the below options, you need to navigate to the BuddyPress Settings page which can be found under WordPress Settings → BuddyPress.
Enable the required BuddyPress Components
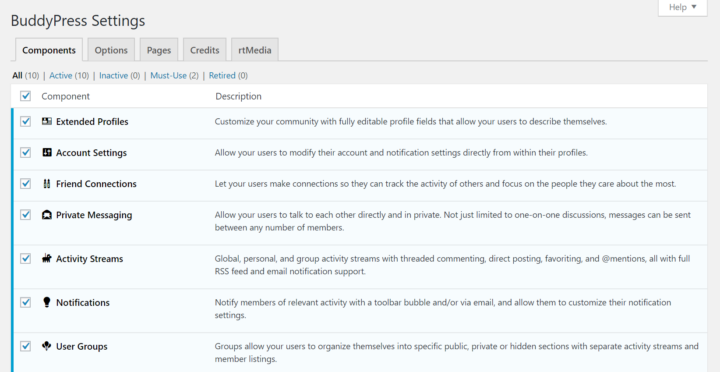
Currently, BuddyPress comes with ten components out of the box. But, that may change in the future – new components can be added and the existing ones be removed or evolved into some other feature. There are endless possibilities as WordPress is transforming into a modular platform where you can plug and play with the ‘blocks’.
Below are the components that are active out of the box –
- Extended Profiles
- Account Settings
- Activity Streams
- Notifications
- BuddyPress Core
- Community Members
While Friend Connections, Private Messaging, User Groups, and Site Tracking can be enabled if you want. Each of the components has a short description beside them which will help you understand if you need them on your site or not.
If you want a particular component active on your site, just check the box near it and save your changes. Now that you have enabled the necessary BuddyPress Components, let’s have a look at the BuddyPress Options you have.
Check BuddyPress Options
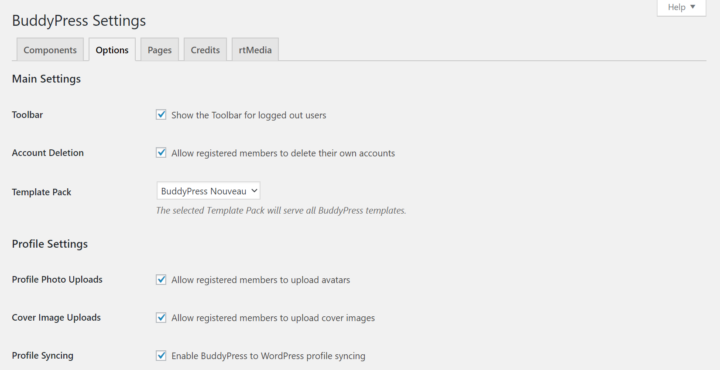
On the BuddyPress Options page, you can choose whether you want to display the BuddyPress toolbar, allow users to delete their account, and more on your site.
By default, BuddyPress uses Nouveau as the template pack. But you can change it to Legacy if your current theme doesn’t work well with it.
Under Profile Settings, you can choose whether you want to allow people to upload a profile and cover photo. We strongly recommend that you to leave it as it is. And under Activity Settings, you can choose whether you want to allow comments to appear in activity streams.
You have now configured how BuddyPress should work on your site. It’s time for you to make sure that all the important pages are present on your site and working.
Create important pages
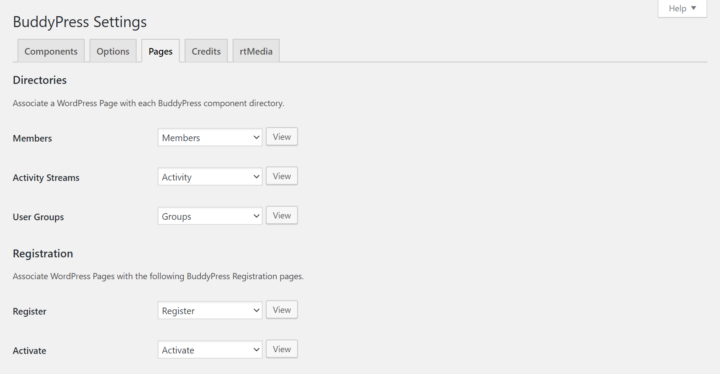
By default, BuddyPress creates important pages on your website for viewing community members, site activity, and user registration, etc.
But sometimes, it may fail to create these pages automatically. In that case, you can create and assign them manually from this page.
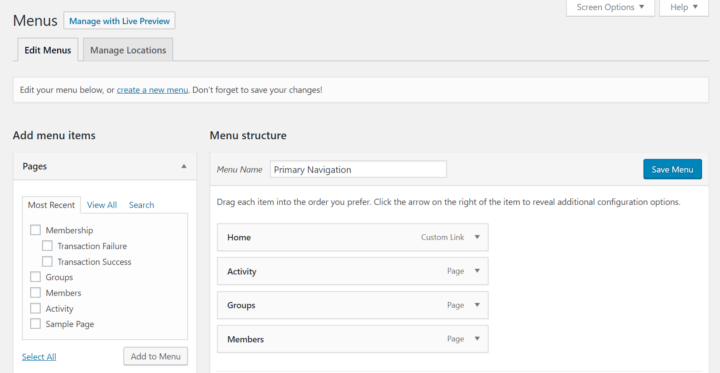
Add proper menu and widgets
If everything had gone well and BuddyPress was able to create the important pages above automatically, it will try to add them to your primary menu as well. But if it fails to add them for some reason, you can add it to your menu manually by going to Appearance —> Menus, selecting the pages and adding them to your menu.
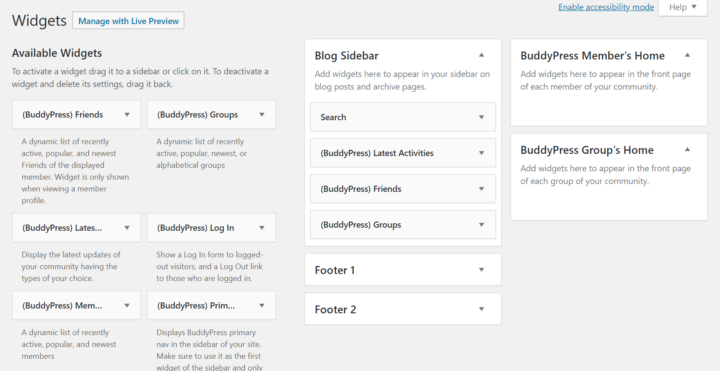
Then, go to the Widgets area (under Appearance —> Widgets) and add the required BuddyPress widgets to your site’s widget area. Also, if you want something to be displayed on the front page for all members, you should add it under the ‘BuddyPress Member’s Home’ widget area.
Currently, BuddyPress comes with support for 6 widgets and they are – Latest Activity, Log In, Members, Primary Navigation, Recently Active Members, and Who’s Online. What these widgets do is pretty self-explanatory from their names itself.
Your fresh community site should be up and running by now – ready for use by the public. But there’s one more thing that’s missing on your site – media support!
Yes, that’s right. And that’s why we have one more step for you to take.
Install rtMedia
rtMedia is the best WordPress media management plugin for BuddyPress and it can help you add multimedia functionality to your site which is otherwise absent.
With rtMedia, you can provide BuddyPress members with multiple options to upload and manage media on your site. It includes support for not just images but also audio and video. You can also allow site members to create albums, control who can view them, and do more with media on your site. And more importantly, it’s free!
Download rtMedia today and take your BuddyPress site to the next level 😀
This article gives clear idea in favor of the
new users of blogging, that genuinely how to do blogging.
opzioni binarie