
BuddyPress is a free social networking and online community builder plugin for WordPress. It adds the basic social media and community website features to any WordPress site. It allows people to create profiles and groups, add users as friends, interact with them, and follow them online.
BuddyPress is known for its Activity Streams feature which is similar to the Facebook news feed and Twitter timeline.
By extending BuddyPress with the help of WordPress plugins like rtMedia, you can take your online community or social networking website to a whole new level.
Installing and configuring BuddyPress
Time needed: 3 minutes
Let’s see how to install and configure BuddyPress on your WordPress site.
- BuddyPress installation
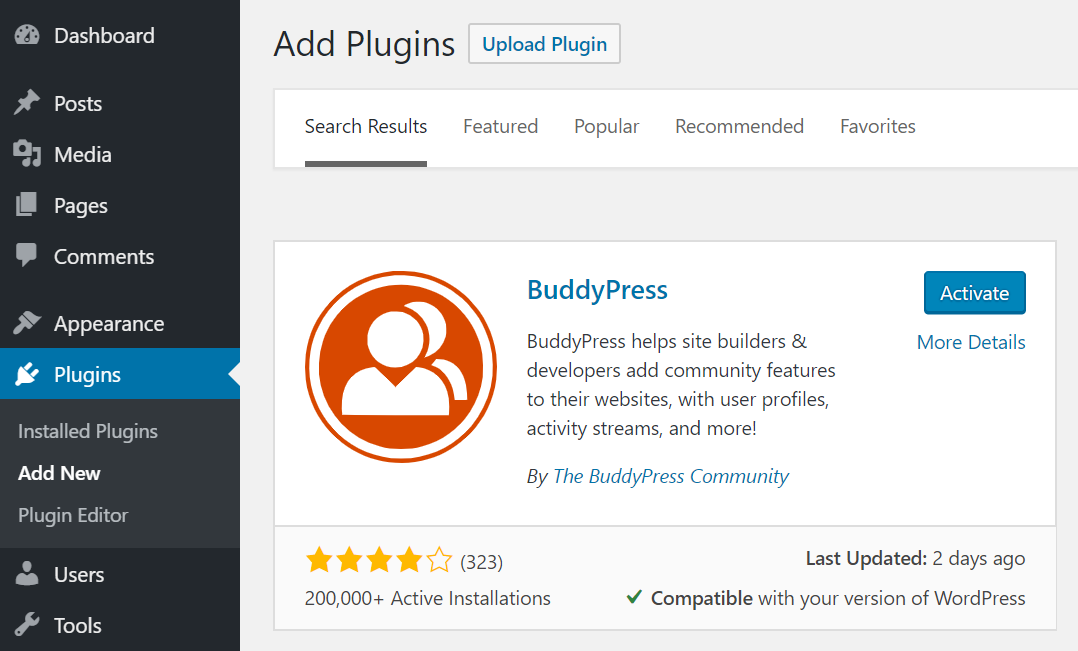
Go to the ‘Add New’ plugins section from your WordPress dashboard, search for BuddyPress, and install it.

- BuddyPress activation
Once you have installed BuddyPress, activate it by clicking on the ‘Activate’ button.
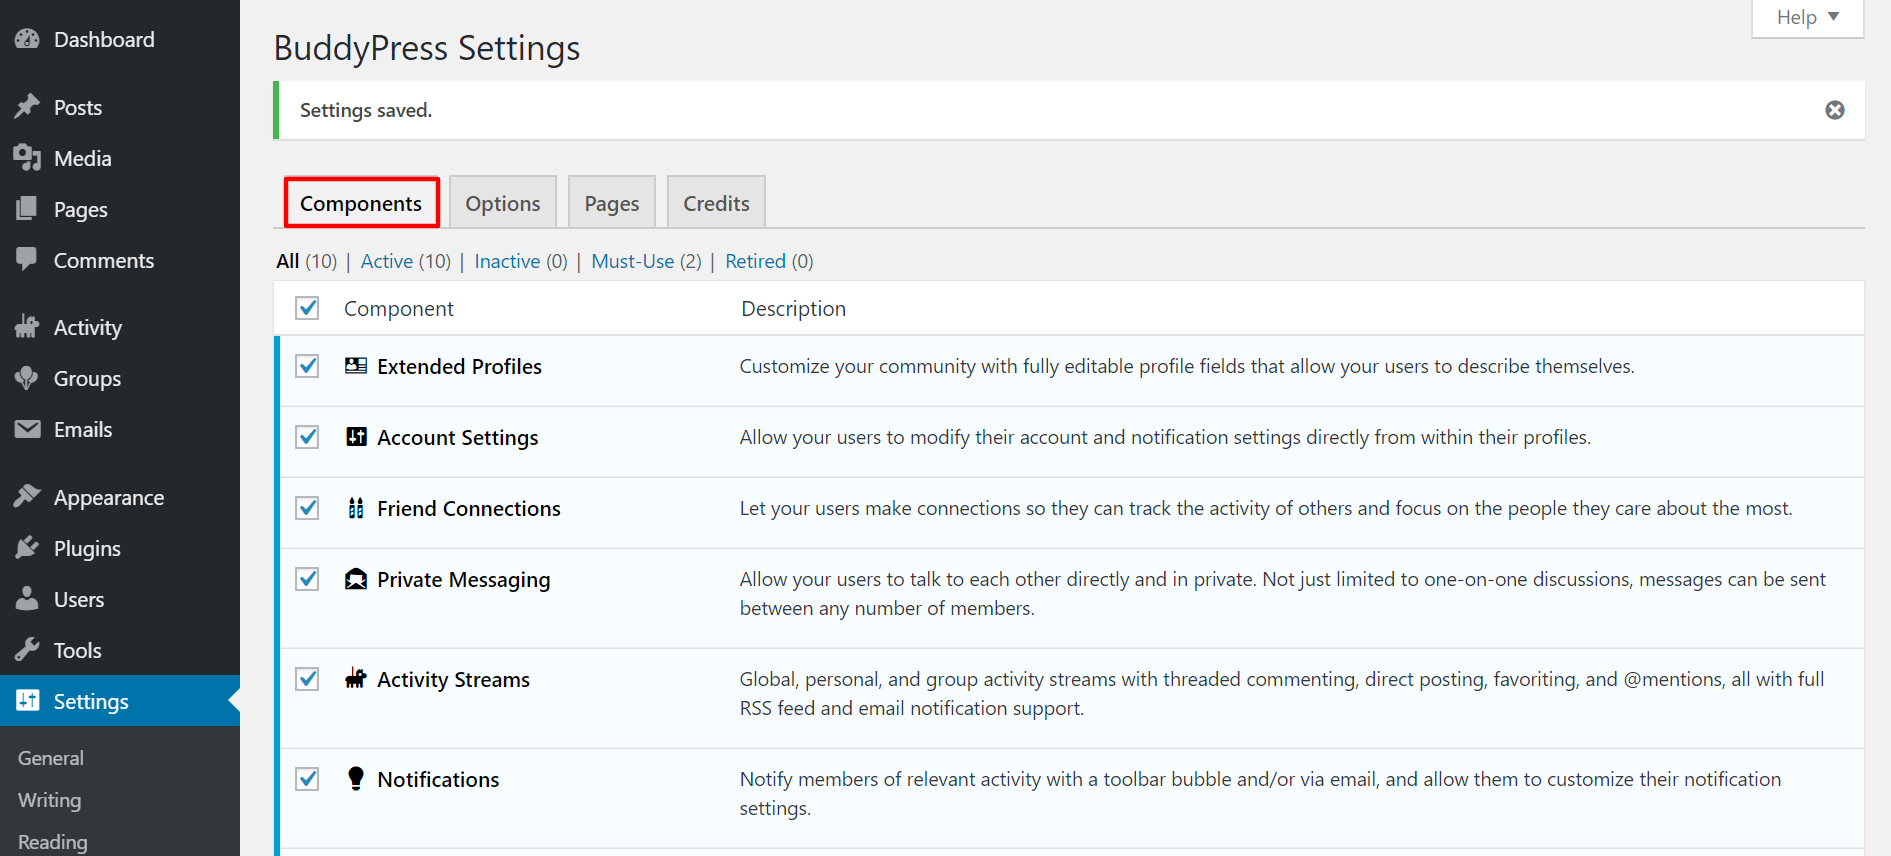
- BuddyPress Components
Go to the BuddyPress Components page and enable the Friend Connections, Private Messaging, and User Groups components.
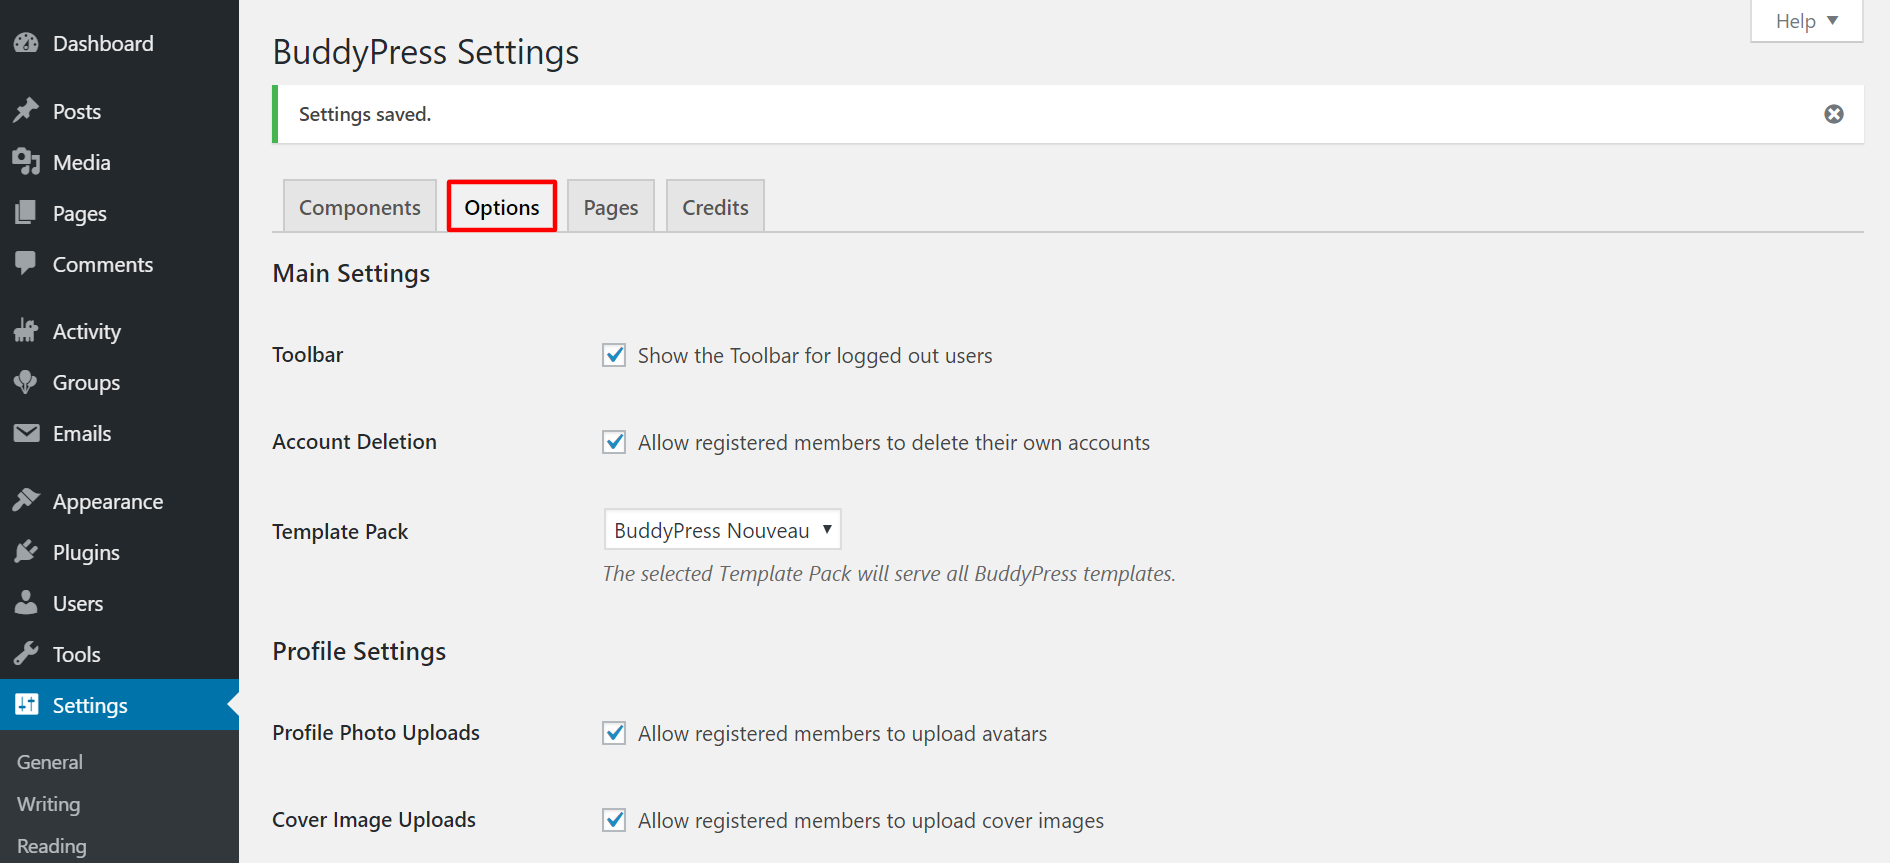
- Configure Options
Click on the Options tab to have a look at the other features and enable or disable these features depending on your requirements.
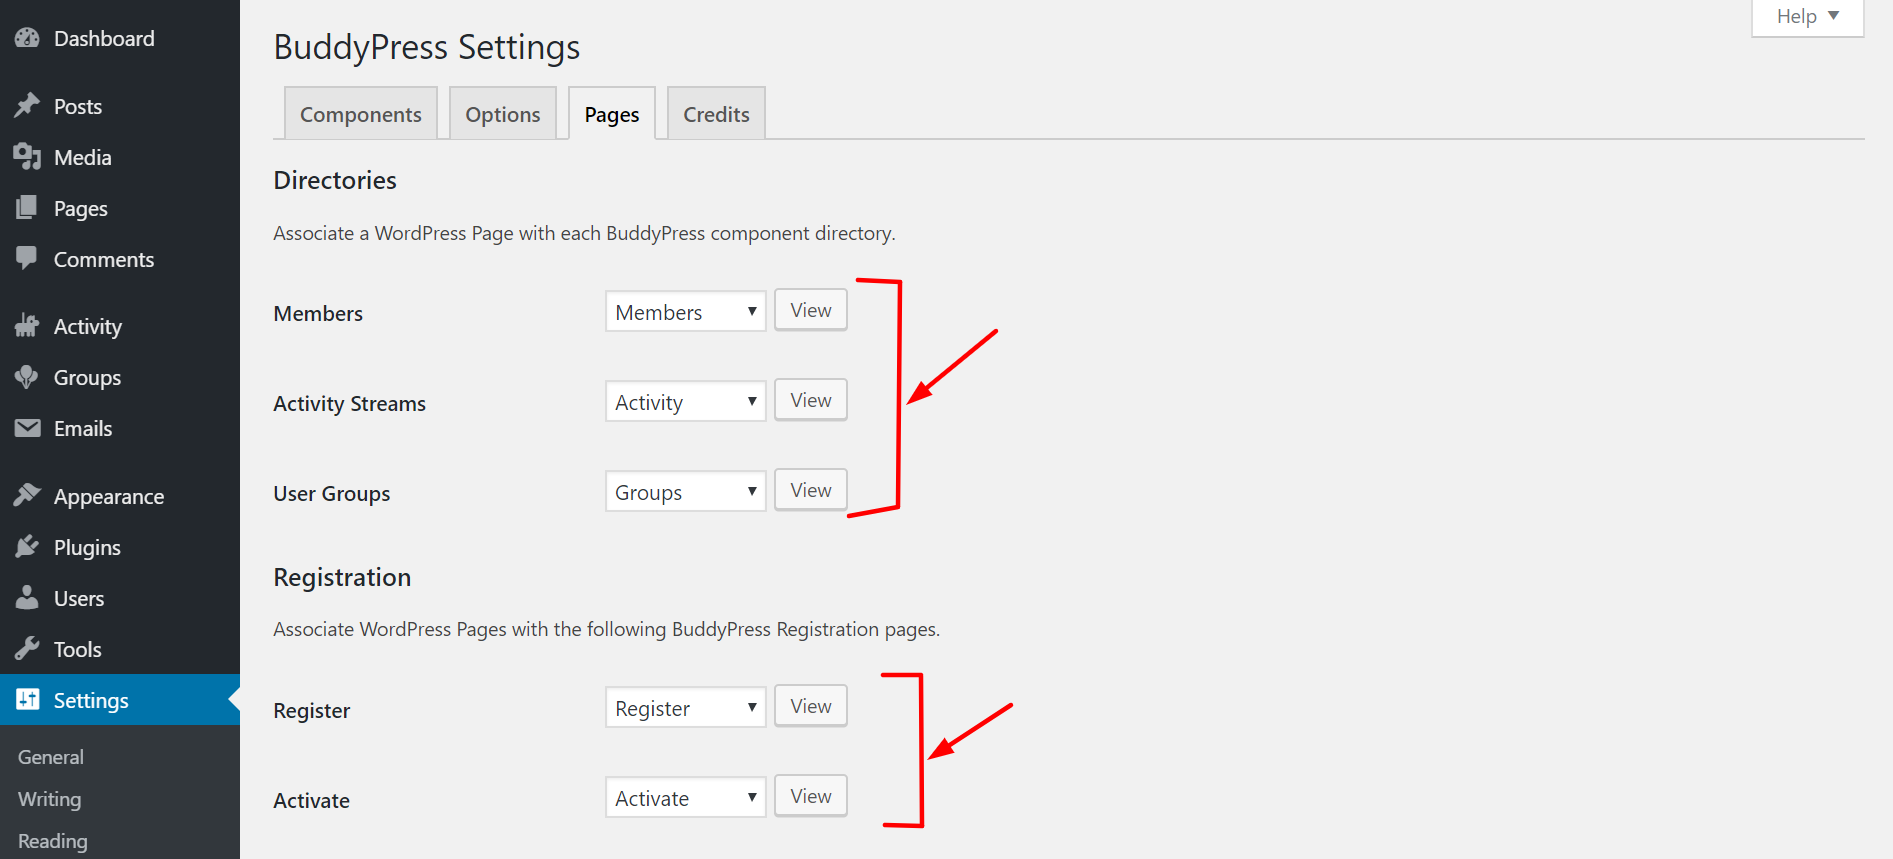
- Verify BuddyPress Pages
Now, make sure that all the required BuddyPress pages are present. Switch to the Pages tab and view the pages created by BuddyPress for its component directories and user registration.
You have now successfully installed and configured BuddyPress on your WordPress site.