
Site admins and editors can create and upload media into WordPress album. You can create album without being dependent on BuddyPress.
Enable WordPress Album Support
To enable WordPress album support, go to rtMedia > Settings > WordPress and switch on the Enable sitewide gallery section button. You can define permalink for album by putting slug (by default it is album) of your choice in Slug for sitewide gallery section which precedes by the album name.

How it works
Creating An Album
After activating enable sitewide gallery section and putting desired WP album permalink slug, all the default WordPress roles would be seeing a new Albums tab except subscribers role.
All Albums and upload
In this section you can see all the published, drafted and pending albums.

To create new album, click the create tab, give a name to your album and publish it. After publishing you will see media uploader at the bottom, where you can upload the media. You can also edit previously uploaded media of that album.

Add already available media from media gallery
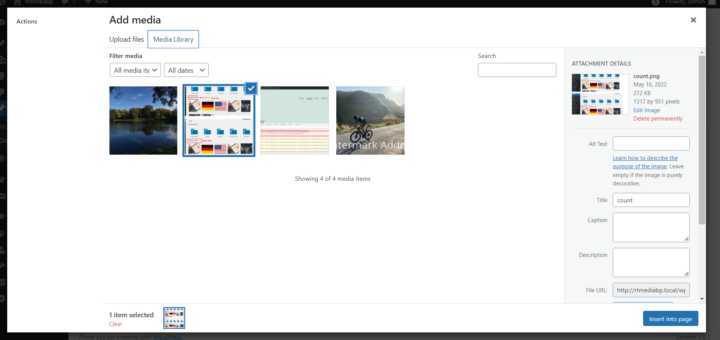
Click on Add Media from gallery button
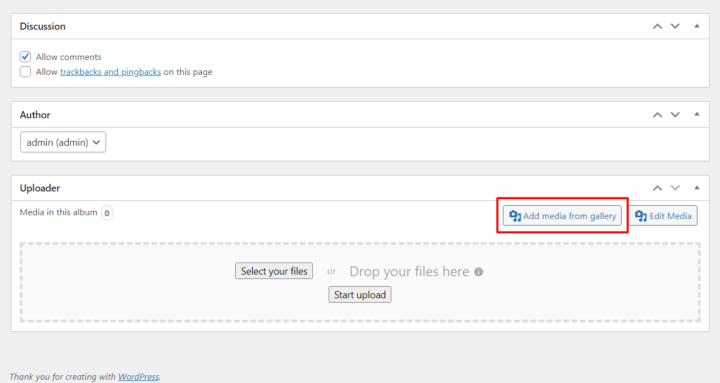
On clicking on this button, an pop-up will appear to select media from existing gallery, choose media from the gallery.
A WordPress albums page
You can have WordPress albums page. You can access the archive page by: <Site_Name>/<Slug_name>/
Note: album-slug is defined under rtMedia->settings->WordPress->Sitewide Gallery Section
Shortcodes
Shortcodes are available to display the sitewide galleries in Posts or Pages. Please check the shortcode details here .
Developer documentation is available here.
You must be logged in to post a comment.